If the system with SpanVA installed is being upgraded from Centos 7 to Oracle 8 ( Linux ), Spanva must be version 1.15.3.160-2024. To do this, first the running system must be upgraded to 1.15.3.160 and the same version 1.15.3.160 must be installed on the new server. We will do these steps together.
Phase 1 – Prepare
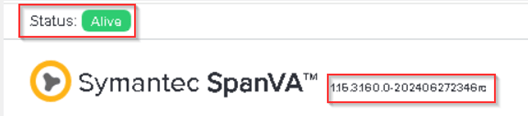
1-Log into the SpanVA *.153 console.
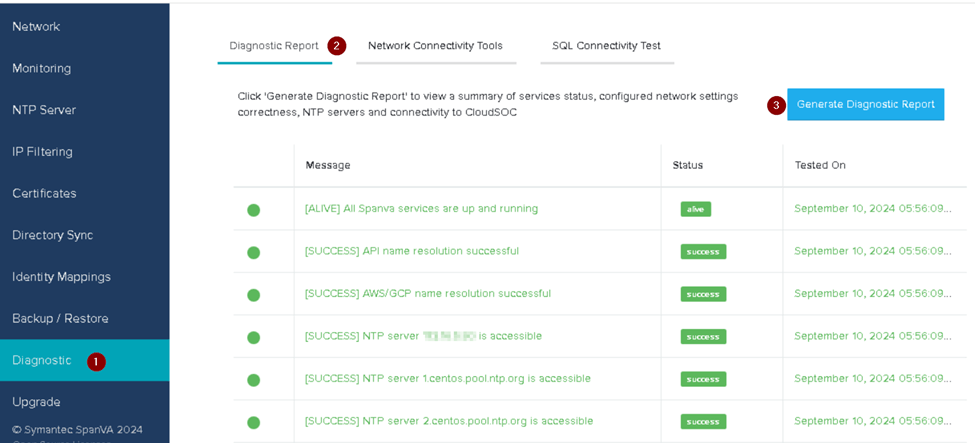
2-Confirm that the current SpanVA Diagnostics are green status:
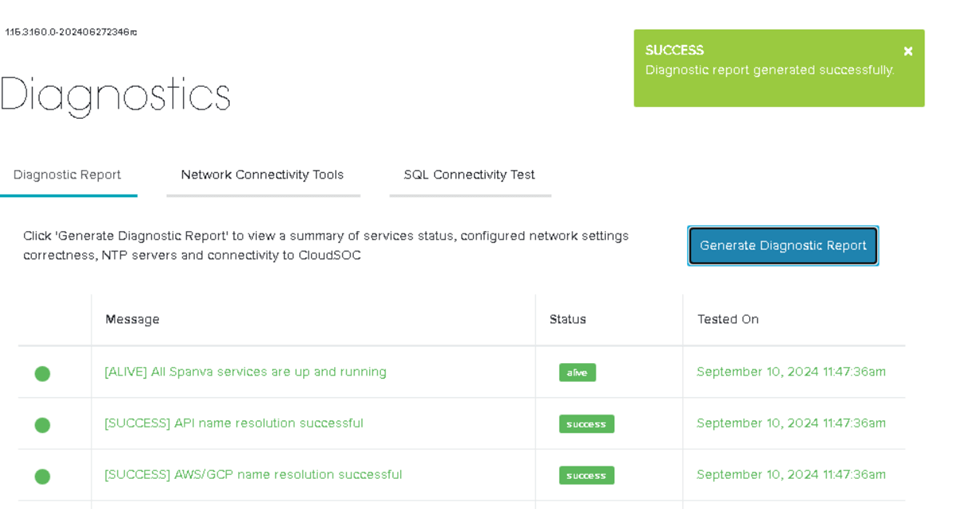
a- Click Diagnostics.
b- Click Generate Diagnostic Report
c- Verify green statuses for SpanVa services,NTP servers,and gateway connections.
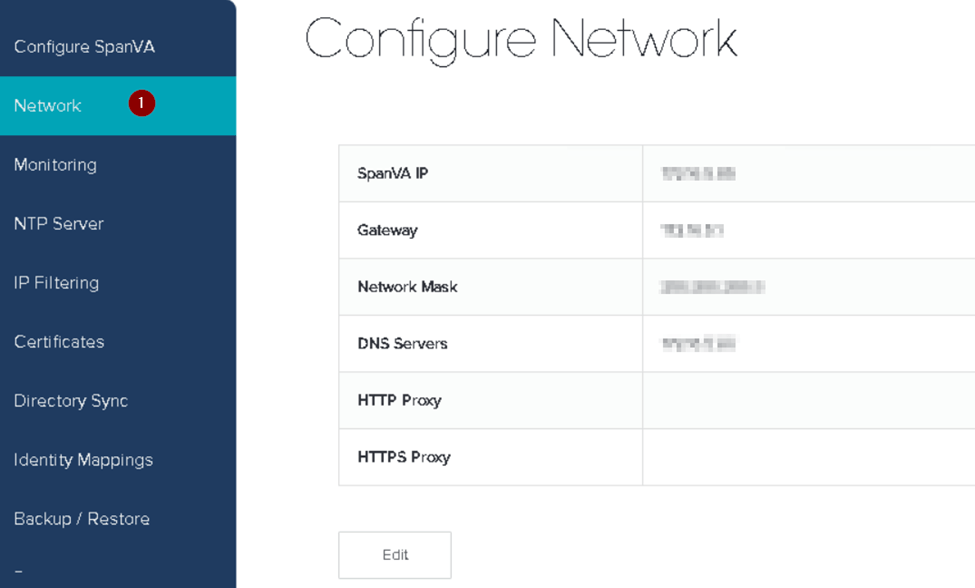
3-Record network information.
4-Prepare the backup location:
a- The backup server cannot contain log files.
b- SpanVA backup is to allow 200MB.
Phase 2 – Backup *.153
1-Log into the SpanVA *.153 console.
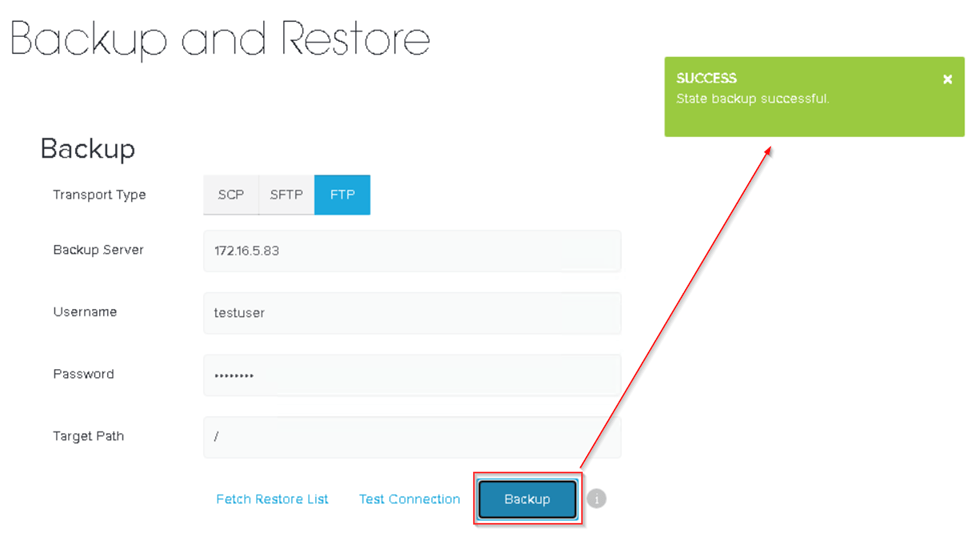
2-Click Backup/Restore:
a- Select the Transport Type ( FTP | SCP | SFTP )
b- Enter the Server IP address.
c- Enter the Username and Password credentials.
d- Enter the directory Target Path where SpanVA places the backup files.
Note: \path\ for Unix , /path/ for Windows
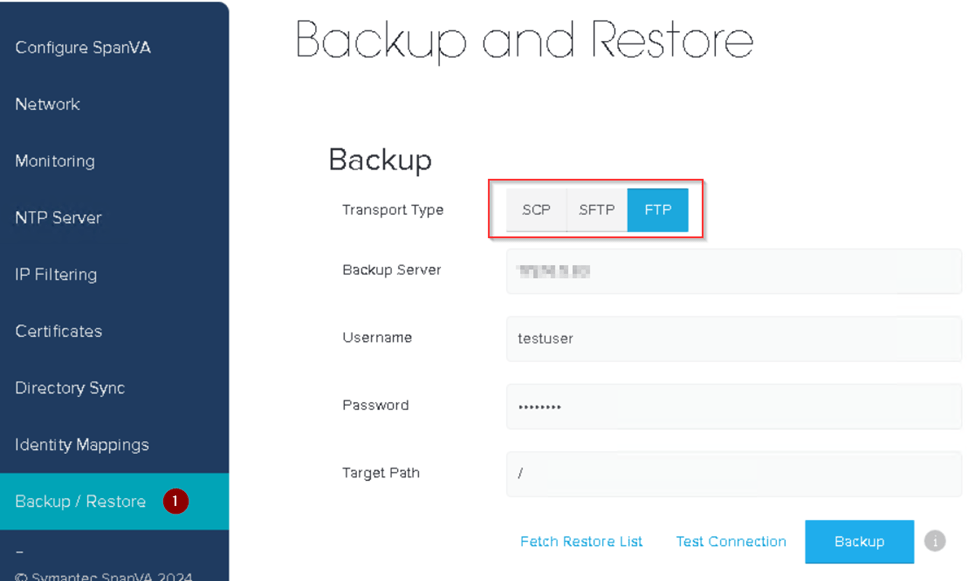
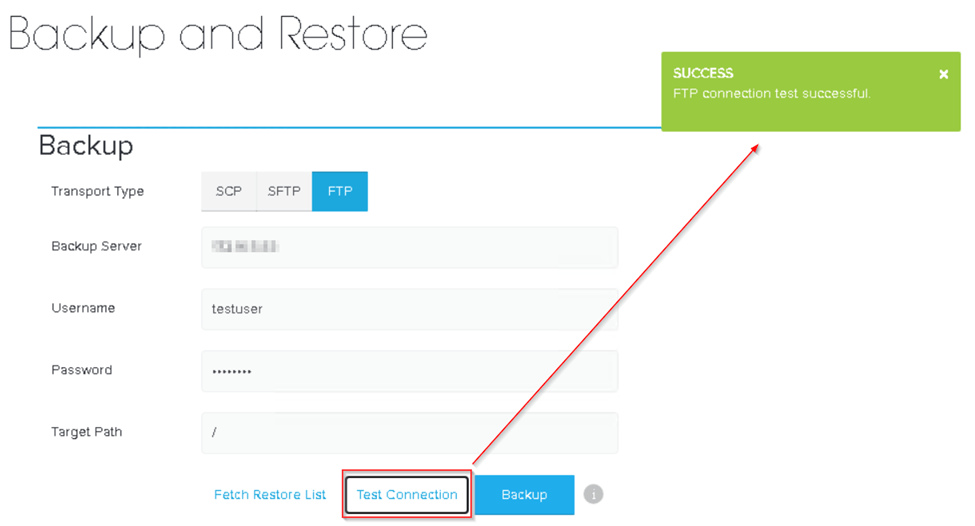
e- Click Test Connection and verify.
f- Click Backup.
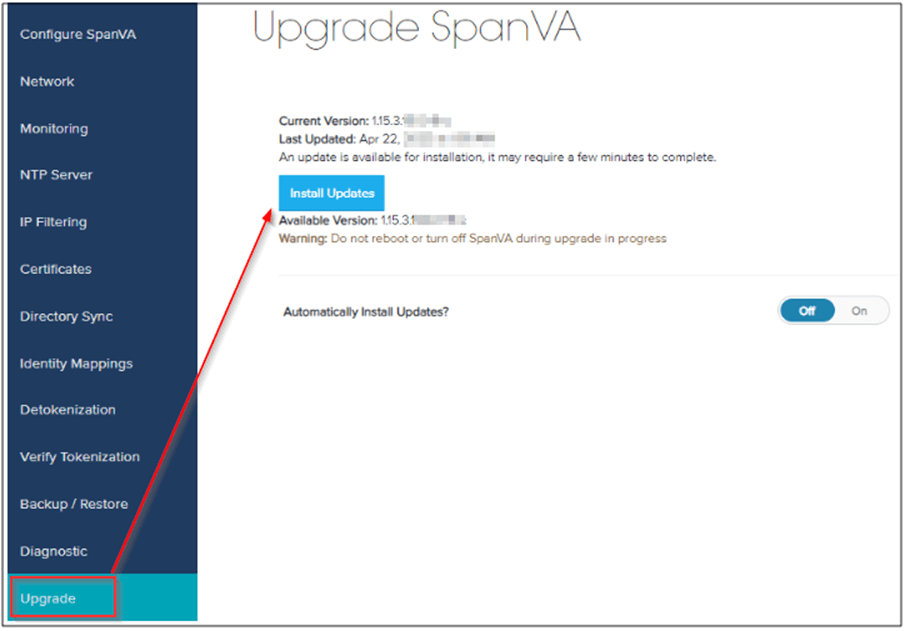
Phase 3 – Manually Update to *.160
1-Log into the SpanVA console.
2-Click Install Updates.
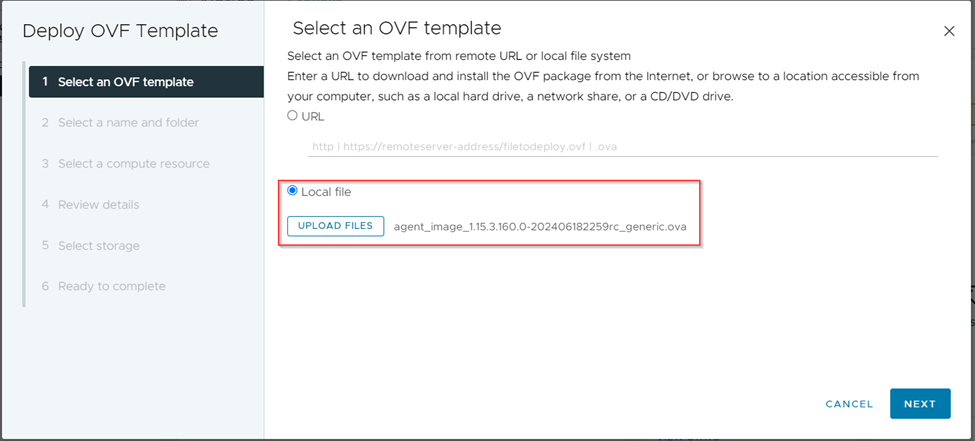
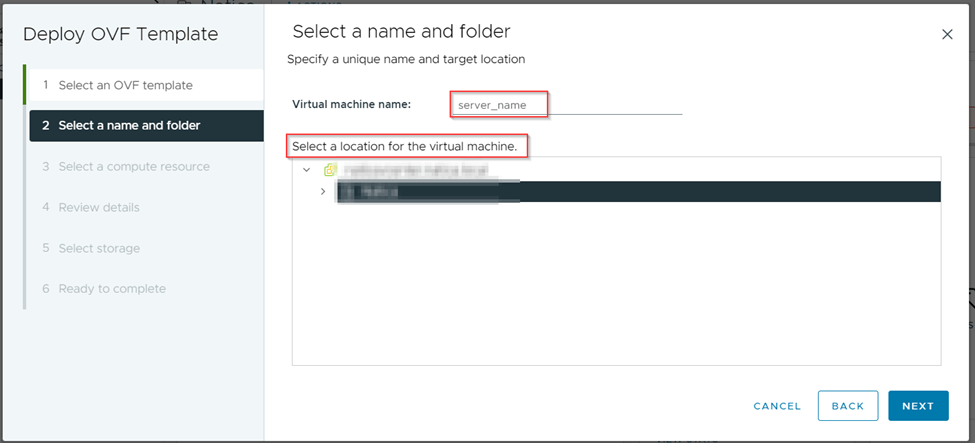
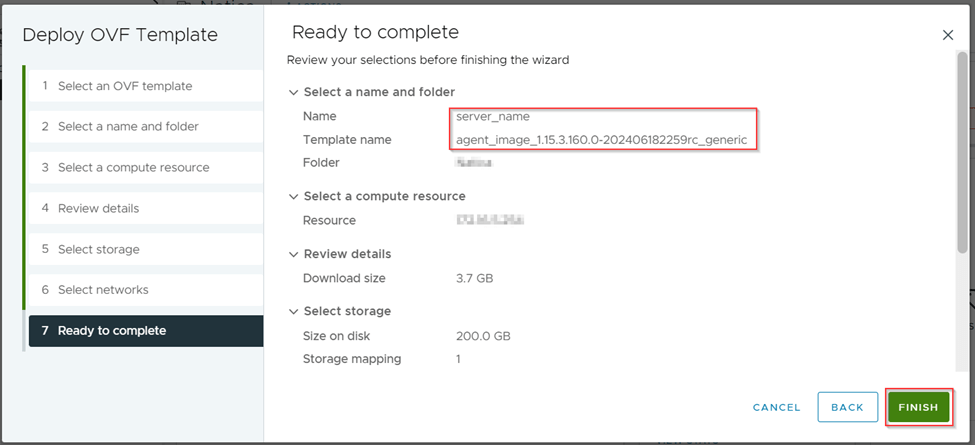
Phase 4 – Install *.160 new Server
1-The OVF file we downloaded from Broadcom is deployed as a new server on the VM.
Phase 5 – Backup *.153
After the OVF file is deployed, the backup file we received is restored to the new server.
Note: The area to be considered on the restore side is that if you have removed the SpanVA token information on the CloudSoc side, the restoration process you perform here will not work for you. Therefore, make sure that you do not delete or delete any SpanVA tokens on the Cloudsoc side.
Phase 6 – Complete the *.160 Upgrade
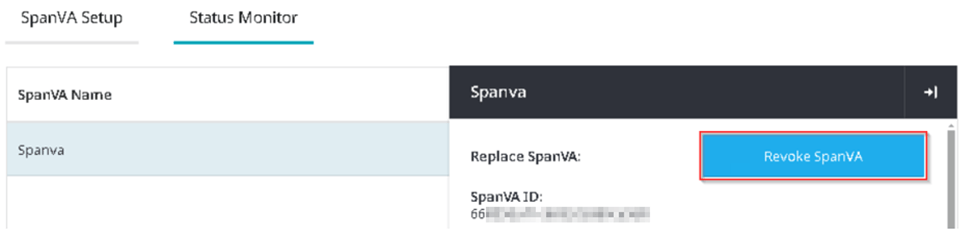
1-Revoke *.153
a- In the CloudSOC console, click Settings.

b- Click CloudSOC SpanVA.
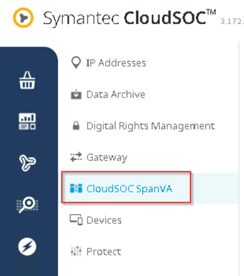
c- Click Status Monitor.
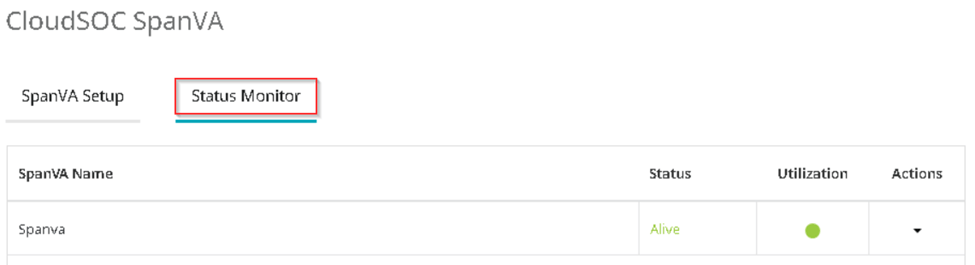
d- The SpanVA server is shut down.

e- The view details section is entered under Action.
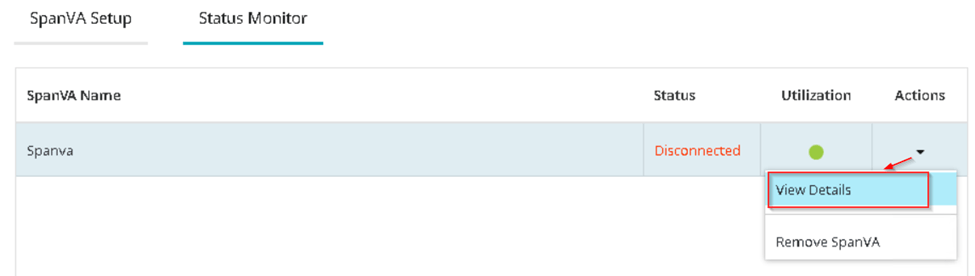
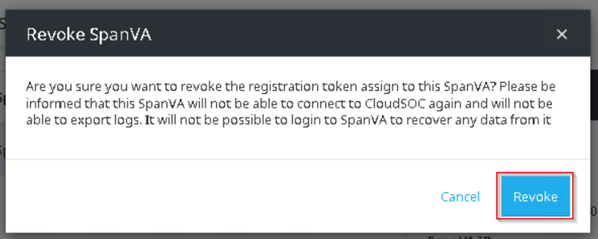
After revoke, the token data displayed on the screen is saved.
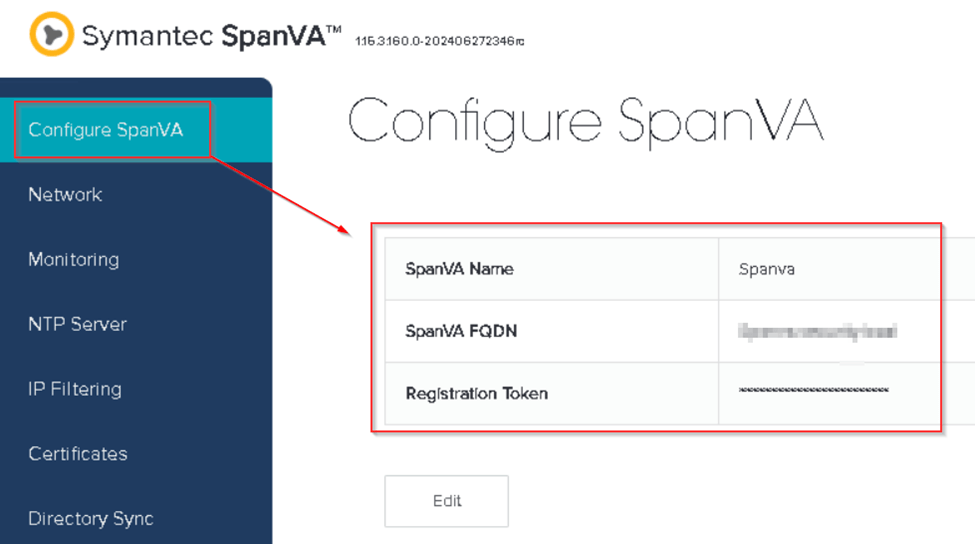
2-Power on the *.160 instance and configure:
a- Configure the instance with the same network settings that you recorded from the *.153 version.
b- Access the SpanVA *.160 console ( IP address )
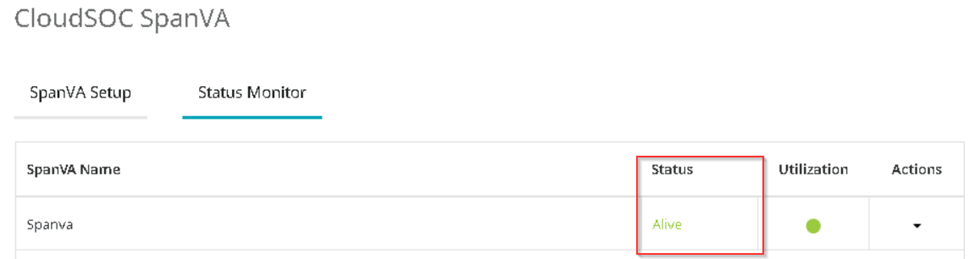
c- Enter the recorded Registration Token. SpanVA connect to CloudSoc and become Active.
3-Restore the *.153 backup package:
a- In SpanVA, Click Backup/Restore.
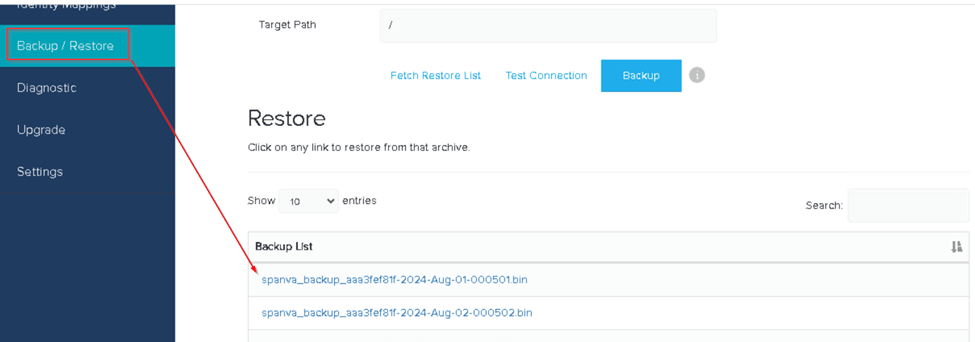
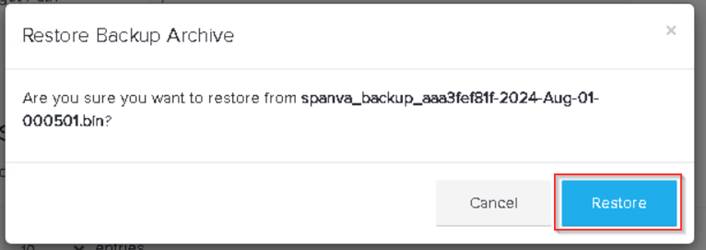
b- In the Restore area, click the bin.
4-Run Dagnostics.

Yorum bırakın